This is my first entry for terrain, and I was going to talk about materials in depth like I did for the "Painting Basics" tutorial, but I quickly realized there is way more, in terms of materials, that go into constructing terrain for our tabletop games. To get it all out, take photos of it all and post hundreds of useless photos with a blurb would be, well, grueling for the reader and me. So instead I decided to just build a piece and talk about what I use for each type of piece, and how I go about building it.
There are many things to consider when making terrain but the most important is cost management. You can make amazing terrain pieces on little to no money, and you don't have to go out and spend hundreds of dollars on materials, the bigger the piece the cheaper it should be to construct. This should be the golden rule. I use a lot of Woodland Scenics products, and I have built up a collection of practical things to build terrain over the years. Lately I have been sticking to the same materials religiously, due to their low cost and overall aesthetic. The second rule is to always consider how your models are going to interact with a piece before you build it. Simple is often better and less is always more.
Forest Terrain Piece:
Materials Used:
For the trees and bushes I'm using Woodland Scenics tree armatures, clump foliage, and bushes, different color grades from light to dark. I'm going to be magnetizing the trees, which is something you should consider for storage and game purposes if that option is available to you. You can find tons of magnets online!
Glue, static grass from GW, glade, scorched, and dead grass. I cut out some irregular shapes of mdf board for the bases and contoured the edges with a carpenters knife.
Colored Flock, and different grades of "Talus" by Woodland.
Dark Green, and Dark brown craft paint, modeling paste for gap filling or making contoured ground, paint brush, make-up sponge, old cork scraps from making scenic bases, and some sticks from outside.
Construction:
First things first, I painted the wood bases green, and while the paint was still wet I blended in dark brown into the center. This way if the flock we apply later comes off it will look like dirt underneath. When making terrain it is important to use the cheapest paint you can find that is acrylic based. "Tole" or "Craft" paint I find an economic solution seeing how you can get it at the dollar store. DO NOT use your expensive modeling paints to paint terrain, use it only on any detail features or for highlighting.
Once that has dried bend the tree armatures into shape and place them on the base to try and figure out where they can comfortably fit, so they wont be touching once the bushes are glued on, and that they will provide enough coverage for line of sight.
Now onto detailing the trees. If you look at a branch on a tree it isn't just one color for the bark. A seemingly brown trunk could be full of greens and grays once you get closer. I gathered some branches outside after a wind storm, and decided I would try to model my trees off of them to keep the piece uniform.
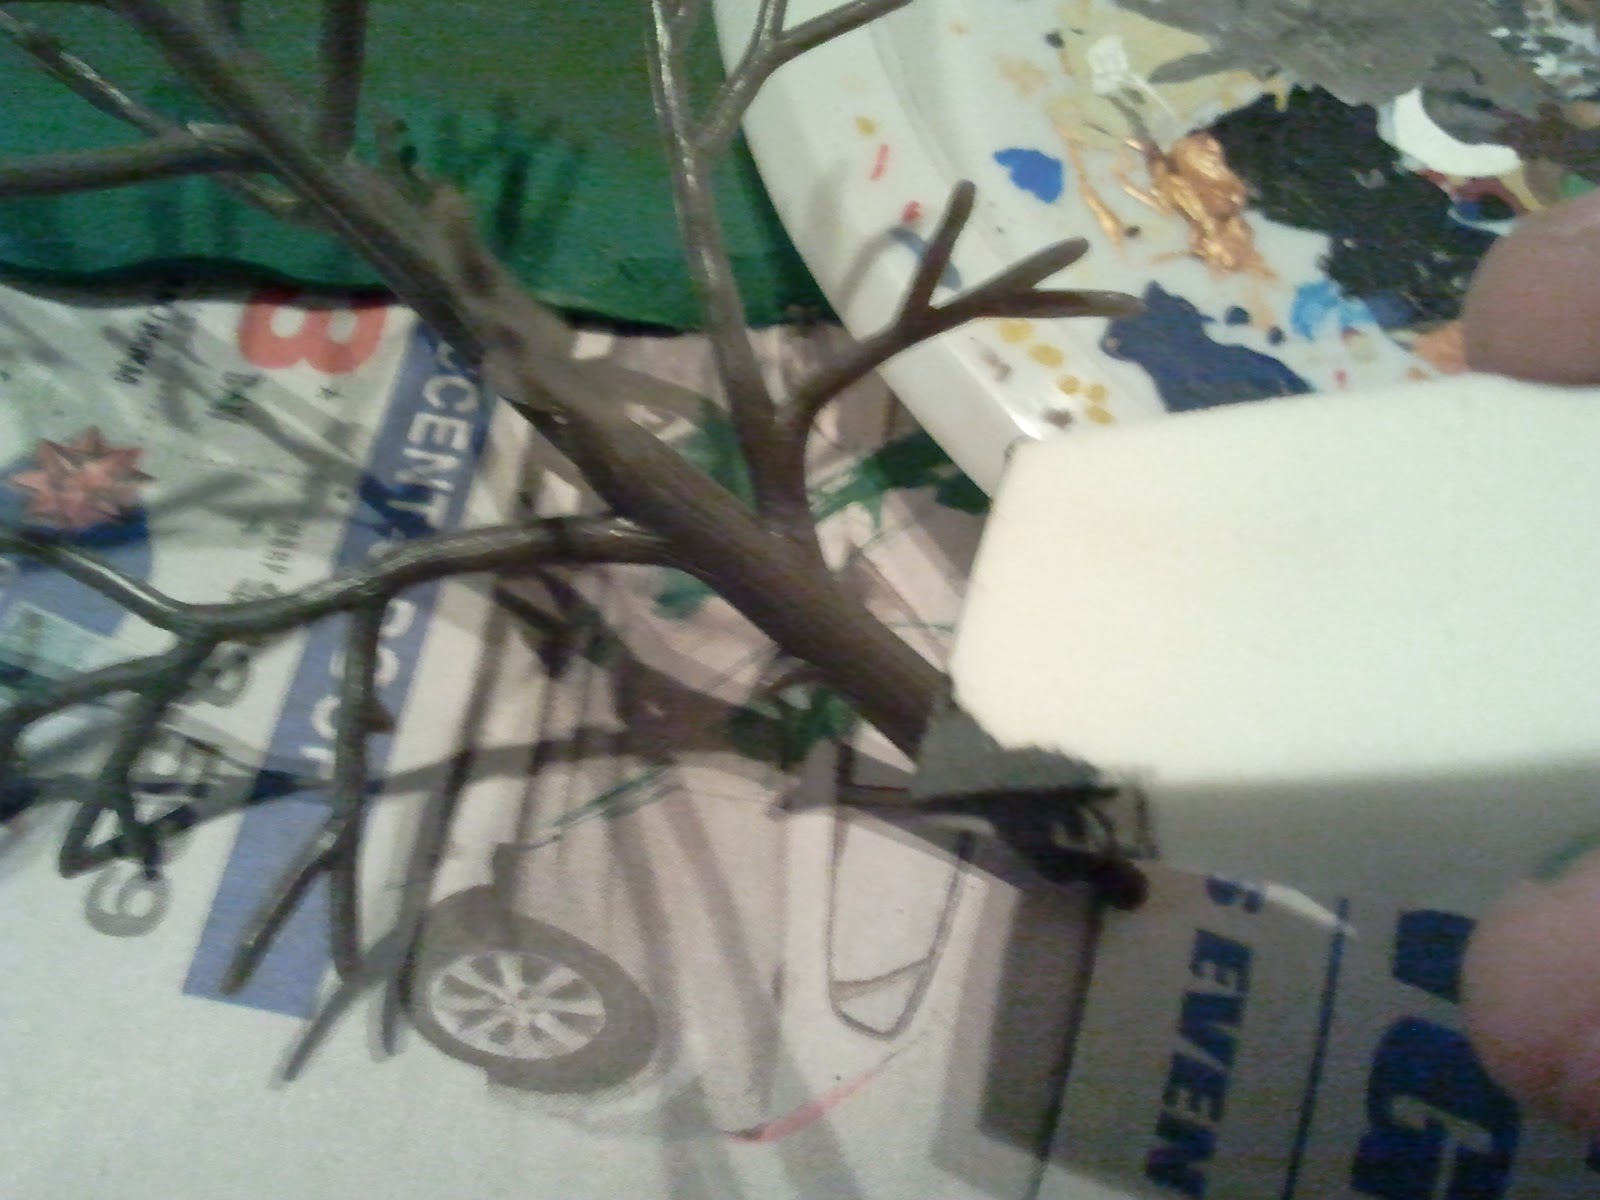
To mimic this I used a make-up sponge, "Adeptus Battlegrey" foundation paintand "Codex Grey" by GW, as well as "Cryx Bane Highlight" to test out the colors I had just bought, you could use "Fortress Grey" as a substitute.
Start with Adeptus Battlegrey and put some pint on the edge of the make-up sponge.
Dab the paint on randomly but evenly up the trunk and along the branches. When you move up to the next shade of Grey try and dab it next to the first darker layer you just put down staggered from that first line. Next use a thin brush to paint the brightest Grey in a thin horizontal line in a few random areas all the way up the thrunk of the tree and at the tips and along the top of the branches. This will make the branches look pretty bright, but it will darken up and look natural once the bushes are glued on. Once they are painted they should look like this.
Mapping:
It is important to map out each terrain piece before you start building to ensure it will actually be useful in you games. It can look as crazy as you want but if it doesn't work in the game it is a useless piece of shit unless you need something impassible, and always impassible. To do this place a ten man squad inside the terrain base so they comfortably fit, and then start placing your terrain details around them.
Once you have it all mapped out you can glue down the bases that the trees slot into. *
IMPORTANT* If you do not plan on magnetizing the trees and just want to slot them into the holes provided, do not use super glue to attach the tree bases to the terrain base. Glue will sometimes fill up the holes in the tree bases, and will make it impossible to fix if it is super glue. Super glue will melt the plastic and the tree will never slot in properly again , use hot glue or white glue instead. Also do not attach the trees to their bases until the glue is dry, it will either glue the tree in place or damage the peg at the bottom. If you are going to magnetize it I would suggest using super glue so the strength of the magnets don't pull the tree bases from the terrain base.
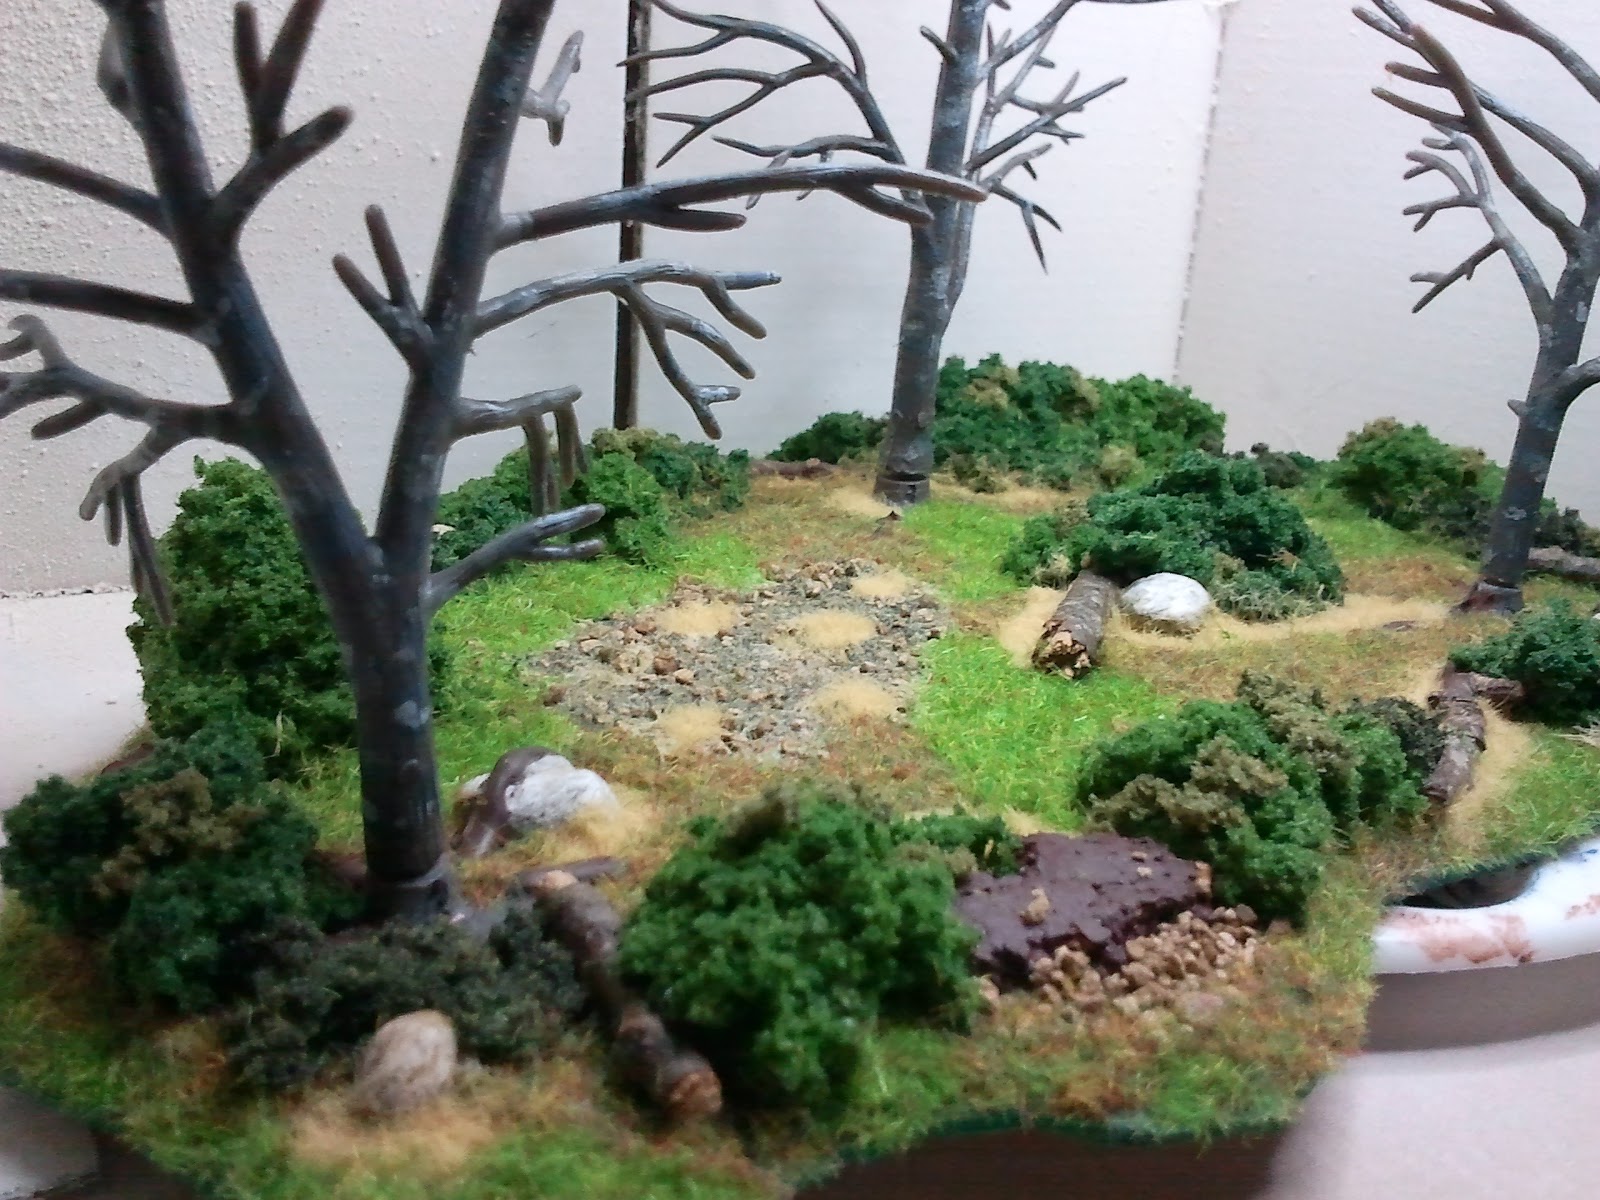
You can also go ahead and attach any cork rocks on the edge of the terrain base, talus rocks, or stick dead fall now with a hot glue gun. I like to use hot glue for this so it is somewhat elevated above the static grass. I also glued a few lines of hot glue onto the tree bases to simulate roots, modeling paste would have been better I think. I used "Hobby-Tac" around the edges of the terrain base and let it dry for 15 minutes. I then attached different colors and grades of clump foliage to the outer edge of the terrain piece.I left some areas open to simulate path entrances, and to make it look less uniform. In game terms it doesn't really matter how high the bushes and stuff are because once a model is in the terrain feature it gets any bonuses that terrain incurs.

I notices that there was some empty space on one side so I decided put an arid patch of earth to fill the space, and to save on static grass later on. It also happened to be in a place where if the sun were shining it would regularly hit that area so i figured it wouldn't look out of place.
For this patch I mixed up a batch of the two finest grades of talus, mixed with dark soil flock from Woodland Scenics. Once I glued it down with white glue I sprinkled a lighter dirt flock over the top. Once it was dry I went over it all with and eyedropper and scenic cement to blend and stick it all together. I also piled some up around the outside edge of the cork rocks.
Static Grass:
I use GW static grass because I prefer the material it is made out of compared to other companies that make it, this is a personal preference and I would recommend using something cheaper if you don't mind the effect it gives. I also use a pair of hooked nose tweezers to painstakingly apply the static grass one pinch at a time. This may sound crazy, and it is, but I like having complete control over how much is being used, how dense it is, and how it stands in the glue. I also find I waste a lot less, and at the price, I cant afford to waste. You could just cover the whole area with white glue and sprinkle static grass all over the piece and shake off the excess once the glue dries. It is up to you.

Paint glue down to a small area with an old paintbrush and then apply the static grass to that area. I used the bright glade grass on the areas where light would always shine if the sun was above the terrain piece. I used scorched grass on the areas around the base of the trees to simulate the shaded areas, and I used dead grass on the dirt patch, and along some of the cork tile rocks.
Once it was finished it looked something like this. (Time 1 hour).
Next up: I'll go through attaching the foliage to the trees, and finishing it up.