
Before I start this tutorial I want to mention a few things. I do not think that I am a great painter. I know for certain that there are people out there who paint minis that make me feel like crawling into the fetal position and crying. In fact, every once and in awhile when I am really proud of something I just finished painting I will throw up a picture on "Coolminiornot.com". It is a very humbling experience. This doesn't deter me, it gives me the drive to keep getting better. Every mini I paint I try to do better than the last even if it takes me all month. Hopefully all of these great painters do the same for you. However, I find that even though I may be unhappy with the way a mini has turned out people often receive my minis warmly. I rarely feel the same way they do about my minis, but I often feel like I have achieved a standard that is higher than most mini's on the table in my local area. Like anything in life though, no matter how good you think you are, there is always someone out there who is better.
When I first started painting I didn't have a clue what was going on. I would ask friends who were into the hobby, or employees at my local GW store, but even then I was only getting the how to of 3 color basics. Thanks to the internet and Youtube, I was able to get a better understanding of what it takes to make a mini come to life. You can find thousands of resources on the internet now that were not available to hobbyists when I started tabletop. Shit when I first started playing, we were lucky to have dial up! My goal for this blog from the start, was to compile all of the things I have learned through out my time in the hobby into one place. I am trying to provide a resource that I wish I had when I was starting out, and share all the things I have learned through trial and error so that all hobbyists, regardless of experience, can avoid or try out different things.
So what makes me or this blog any different than a Youtube channel or any other resource out there? Well, nothing. I'm sure you can find a better explanation, or a video on Youtube somewhere in cyberspace. However, I guarantee you won't find someone who has the same style. The same goes for all of you! We can sit and watch all the Youtube videos or read all the blogs we want, but at the end of the day we will all have a different style and have things to share about what we like, don't like, or discovered while actually painting our own minis. Learning from these resources is great, but you will not be a good painter until you actually paint, and practice everyday. I should also mention that I am using a 5mp camera on a "Samsung Galaxy" smart phone, and apologize for the picture quality. Sometimes the things I am trying to demonstrate don't show up in the pictures like they do in person, but they should give you the idea of what I am talking about.
I used to paint with acrylic on canvass, and quickly learned that painting theory is the only thing that applies to mini painting. It's a whole new world of it's own, and it has required lots of practice before I have gotten my minis to turn out how I like. There is always room for improvement but I try to make them as clean and realistic as possible. Here is the step by step process I go through for every mini I paint and the techniques I use for my particular style. This is my first time painting Warmachine figures, and I must say they are very small, and presented some unique challenges. Not to mention the added stress of putting yourself out there on the internet. The figure you are painting doesn't matter, you can apply all of this to any model in any range. If you are painting huge figures you have to go about things a little differently, but we'll talk about that when I get to painting monstrous creatures.
Painting Deneghra 1:

I always start with a white undercoat. If you have access to light gray primer (Army Painter) and want to save yourself some time, use gray. As discussed earlier, some colors don't cover black undercoat very well so I use white, which will make colors too bright at times and you will have to first paint an area you want to be darker black before you can start painting your dark color. Almost all paint colors will cover gray and maintain the brightness or the deep hues of a particular color. I use white cause it's easy to purchase from GW.

Once you have done this, you want to start from the inside out, meaning you start with the bottom layer of all the layers of detail. I usually start with the flesh and then paint all the parts in the order you would put the clothes on, if you were dressing the mini like a squire for battle. For the flesh you will need the colors shown above (I also used Devland mud on the face later on but not needed). Don't forget to dilute your paints!

Paint "Tallarn Flesh," on all the skin areas of the model. The foundation paint will give you a good base for the lighter flesh colors.

Go back over all the flesh areas with "Dwarf Flesh" and once this dries gp over all the flesh with "Gryphonne Sepia" or "Devlan Mud" wash. This Layer is to create depth and shadow.

Now go over the skin with "Elf Flesh" leaving the dwarf flesh in the areas where light doesn't reach. This will make it look like light shining on the model. A good way to go about highlighting is to place your mini under a light and just paint the lightest color in your triad on these spots.


Now move onto the clothing. I decided I was going to paint her skirt black and dark blue because this is going to be the main colors for my army. I used the colors above, use any base color from your color triad and start with these, nothing fancy yet. As a side note I want to mention that when diluting metallic paints I use pure "Liquitex Slo-Dri Fluid Retarder". If you mix water into metallic paint it will cause the metal flakes, medium and pigments that make up the paint to separate. Pure fluid retarder will eliminate this because it will hold all of the paint's properties together, and allow you to get a smooth finish when applying it. It says in the bottle to mix 25% medium to the paint. It comes out relatively slow when coming out of an eye dropper or dropper bottle so only add a tiny drop to the paint. If you are going to add a full drop of pure medium to the paint, you will have to mix 4 parts paint to 1 part fluid retarder.

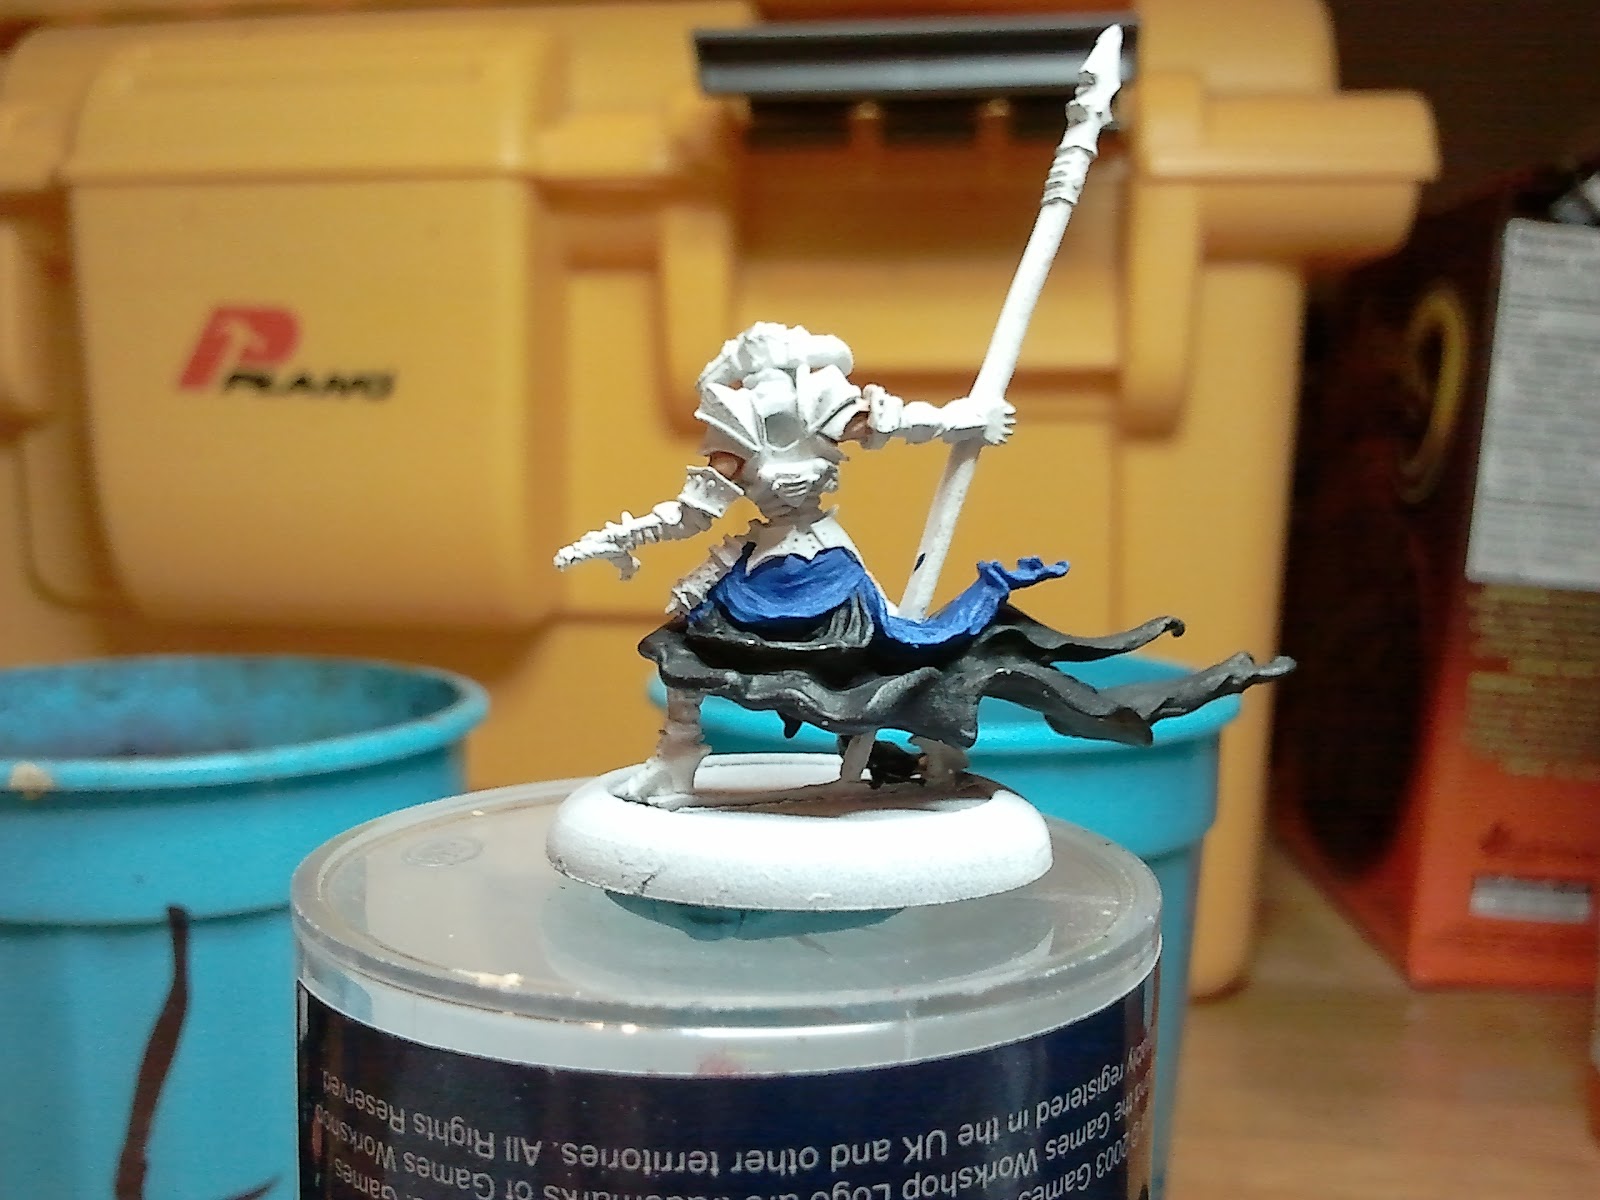
Paint the bottom of the skirt with "Chaos Black" and the top section with "Moridian Blue" foundation. I am choosing to place a color here to break up the black and to create a visual point of reference. I also want the blue to come out dark so I have painted moridian blue to tone down the white undercoat. I could have done this with black as well but I want the next color I put down to maintain it's hue.

Next paint the blue section of the skirt again with "Regal Blue" and paint all parts of the armor in "Boltgun Metal" and apply a wash off "Badab Black" to all the areas you just painted except for the flesh. This didn't come out as dark as I liked so I did a second coat of wash. Use it liberally and let it fill up the recesses. Hold the mini on it's side when applying the wash to avoid the wash from running down or off your mini, also try to soak up with your brush any areas that wash has started to pool on the surface. This made the armor look almost black but maintained it's metal appearance and it really toned down the blue, and fit in nicely against the black.

You could just paint the shoes, back of her legs , and weapon right now an call it a day. When they say you only need three colors painted on your minis for tournaments or to play at GW stores they mean just that. Paint the skin, the clothes and the armor three separate colors and you are good to go. Some people might add a little highlighting here and there and stop, and this is perfectly fine. Painted minis are always better than unpainted mini's. But when you get your mini's you have to figure out how you wanna go about painting them. 3 color tabletop quality, or display quality for the tabletop. If You just want table top like I said you can stop here. If you want your minis to look a little more life like, then continue on with me for a little bit longer and stop when you feel you are happy with the mini. If You are wanting to push your mini further then follow me all the way to the end, It's going to be a 6-12 hour journey.
Next up Painting Deneghra 2.
No comments:
Post a Comment