
Sometimes you will glue a model in place and realize there is a huge gap somewhere. This can easily be remedied with a hard drying modeling putty. There are many types out there but they are all essentially the same. One may sculpt easier or have a longer work time, but they are all similar in their properties. You can get "Green Stuff" from GW stores, or find other brands offered by online retailers. Privateer Press also makes a modeling putty. All products are basically a two part putty one side yellow, the other side blue that you mix together to get a green resin. It works the same as epoxy glue, one color is the resin the other color is the hardener. You can also use this product to sculpt your own miniatures or make new pieces on existing sculpts also known as converting. For now we will just focus on gap filling.
What you need:
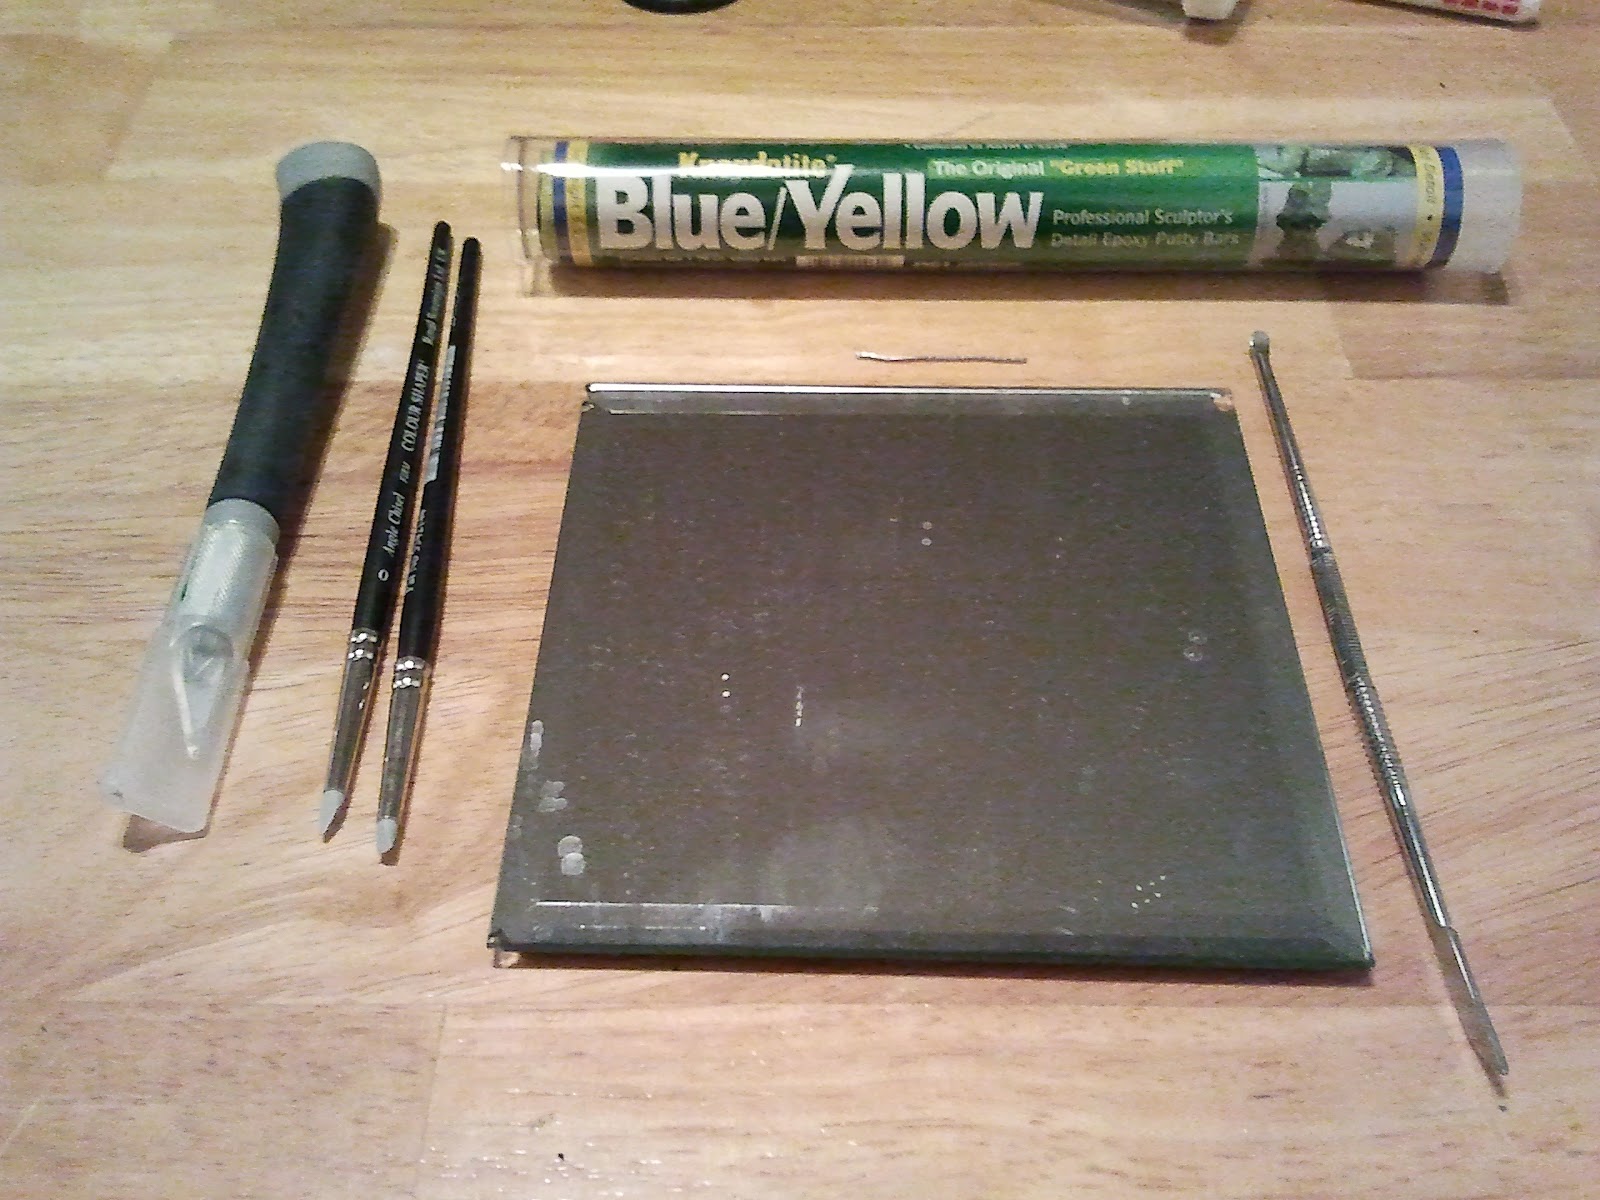
Green Stuff: The stuff pictured is "Blue/ Yellow" by Kneadite. I bought this stuff because you get way more for fifteen dollars than you get at the GW stores. I ordered it online at miniwargaming.com
Modeling Knife: To cut the green stuff, and can also be used as a sculpting tool.
Paper Clip: For getting green stuff in smaller spaces, and sculpting.
Sculpting Tool: The one pictured it the one you can get from Games workshop. Privateer Press and Army Painter also make a set of sculpting tool. and of course you can use any art supply modeling tools for clay. I also sometimes use wood carving tools with greenstuff.
Water Color Chisel: These are rubber tipped paintbrushes you can buy from art stores. In the paintbrush area there should be a section for different types of brushes, acrylic, oil, and watercolor. In the watercolor section there should be different size, and shaped rubber tipped paintbrushes called chisels. You use these to push watercolors to make a thick textured line or to blend or erase the pigments left by watercolor paint. These work awesome for sculpting because it allows you to smoothly shape the green stuff, and prevent fingerprints from getting in your work. I started using these after I saw a video by Vanhammer73 on Youtube. Check him out he does great sculpt work.
Non Stick Surface: I use a hand mirror I got from the dollar store. Anything that is flat, smooth and can get wet will work well.
Water: From the tap.
Getting Started:

Once you have the figure glued and it has dried completely you can start gap filling. I should mention as a side note that you can add a small ball of green stuff to the area you are about to glue together during the gluing process.When you press the piece into place the green stuff will ooze out of the seam and you can just clean it up around the seam. This will fill any gaps automatically and give you an even stronger bond than if yo had just used super glue.
Grab your green stuff and start mixing it up. A small amount will go a long way so try not to cut too much off the strip.


Once the two parts are mixed it will turn green, and you know it is ready when it's green all the way through, if you press it or pull it apart and you still see streaks of yellow or blue keep mixing it.

Now wet your surface and roll the greenstuff out into the shape of the gap you will be filling. The gap on the Necrotech is a line so I rolled it into a cylinder.

Next place the putty on the area to be filled and start pressing it in with a sculpting tool. I also use a paper clip for the smaller areas.

Once you have the gap filled you can go in and shape any areas that that need it with your water color chisel. this will ensure the area is smooth, and finger print free.


Now that it is all done let it dry for 6 - 12 hours, until it is hard. You are now ready to prime and paint the mini.
No comments:
Post a Comment